What is the archery shot cycle?
Archery is an ancient sport that demands precision, focus, and technique. One crucial aspect of becoming a skilled archer is understanding and perfecting the archery shot cycle.
Today, we will talk about the archery shot cycle. This will include an archer’s step-by-step process to execute a successful shot. Let us delve into the intricacies of the archery shot cycle, discussing each phase and providing valuable insights to help you improve your shooting skills.
What is the archery shot cycle?
The archery shot cycle refers to the step-by-step process followed by archers to execute a successful shot. It encompasses various phases that an archer goes through. The shot cycle is sometimes called the archery shot process.
There are several steps in the archery shot cycle – stance, posture, set up, raise, pre-draw, loading, anchor, expansion, release, and follow-through.
Each phase of the archery shot cycle plays a vital role in achieving accuracy and consistency. From establishing the correct stance and grip to aligning the bowstring and sight with the target, every step requires focus, technique, and muscle memory.
By consistently mastering the shot cycle and practicing it, archers can enhance their shooting skills and improve their overall performance on the range or in competitive settings.
What are the steps in the archery shot cycle?
Let us talk about the different steps in the archery shot cycle.
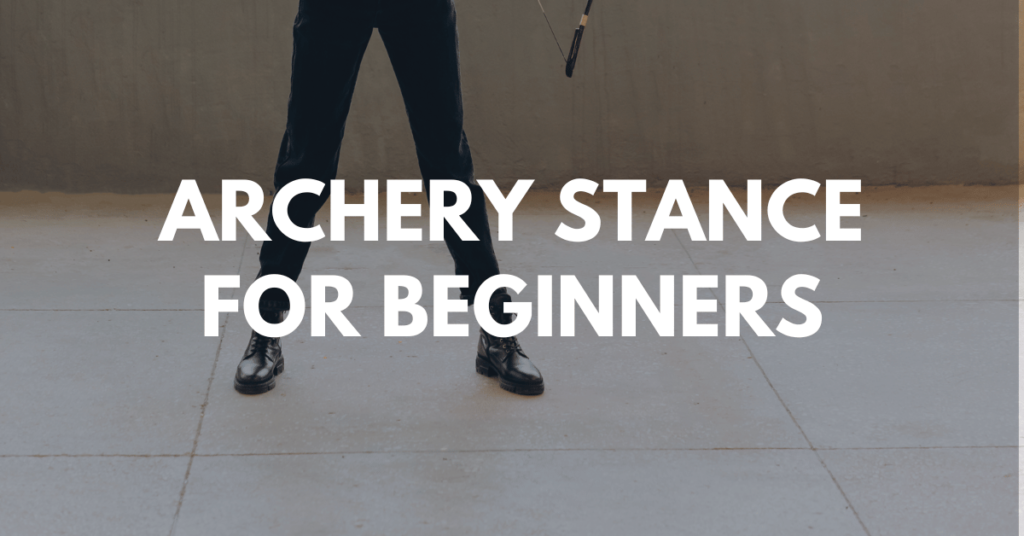
Solid Stance
The right stance in archery is essential since it is the foundation of your shot. By doing the proper stance, you are putting a stable base for maximum stability.
This means that you can shoot comfortably in your position. It also allows you to continue the shot process in unpleasant conditions such as a windy or rainy day.
Moreover, an unstable stance can affect everything that you do in the process.
Think of it as car wheels. They are round, right? And, if they are stable (with the right size and pressure), you will have a smooth ride.
Now, what if you have square wheels? Surely, your car will still move forward but, the ride will be wobbly, unstable, and unsafe.
You will arrive at your destination, the same way an arrow will hit the target but, it will be a very bumpy ride. Worst case, you miss the target.
Fixing the Posture
There is a misconception that standing straight is the right way to shoot your bow. It is half true. However, there is a technique to get the right posture in archery.
You must engage your core to get the best posture before shooting.
Why is that?
Engaging the core gives you more stability compared to a relaxed and upright posture. It is also easier to reach proper alignment this way.
Setting Up the Grip and Hook
No, we are not talking about equipment setup. The “setup” in the archery shot cycle means setting your hands into your bow. This comes in two parts.
The first part refers to the hook wherein you position your fingers with the finger tab into the string. You will then exert enough tension to pull the string tightly but, not draw the bow fully.
The second part is putting enough pressure on the pressure point of your grip. This is essential as basically, a tilted bow will lead to inconsistent shots.
In addition, holding your bow with a tight grip is not ideal as well. This adds unnecessary tension to your grip that will lead to inconsistencies.
Raising the bow
Of course, you need to raise the bow right? What is the fuss about it?
Well, raising the bow or the “raise” is also the time wherein you need to rotate your shoulders and the bow arm.
Doing so will allow you to have a steadier posture. The bow arm rotation will also provide enough clearance to prevent string slap.
The Pre-Draw
The Pre-draw is one of the most important parts of the shot process since it covers the shoulder alignment. Think of it as a checkpoint too wherein you have to mentally check if your posture is still intact.
This step starts off by pulling the bow as you raise and stopping with your hands at eye level.
Loading the shot
Loading the shot is the term for when you pull the bow and you proceed to anchor. This is done by using your back muscle and not your arm.
If done correctly, you will achieve full alignment of your bow, arm, shoulders, back, and drawing arm.
Anchor Position
The anchor position is your reference point for your full draw. A consistent anchor point ensures that you are shooting at the same position all the time.
If you love watching Olympic archers, then you would notice that they would place their draw hand under their chin and the string touches their lips and nose.
The reason for this is that the top of the index finger and the jaw would form a tight connection. This is the first reference point for a consistent shot.
The next reference point is the lips. The string would either go to the middle or to the right (opposite if left-handed) of the mouth.
Lastly, the nose is also used as a reference point.
Why are these reference points important?
If you are going to shoot with the string touching the left or right of the mouth, then your shot will either go left or right too. Maintaining the same spot will yield a more consistent shot.
The Expansion
The Expansion is not noticeable as you shoot an Olympic recurve bow. It is the term for when you continuously pull the bow until the arrow clicks.
This is where maintaining the back tension is important. Collapsing in this step will mean that you are losing energy if you would continue the shot.
Think of it as the final stretch of a race before you hit the finish line.
Release
The release is the act of shooting the bow. It is one of the most important steps in the shot cycle because it will be your last chance to be in contact with the bow. One small mistake in the release has a great effect on your shot.
The right release is achieved by continuously moving through the expansion. Slightly relaxing your fingers as the clicker clicks combined with a backward movement of your arms will give you a natural feel to it. Opening your fingers might work at the start but it will introduce inconsistencies in the long run.
The Follow Through
The shot process does not end during the release. It continues even after the arrow has landed on the target. The last part of the shot process is called the follow-through.
Have you ever wondered why professional archers swing their bow after every shot? That is part of the follow-through.
So what exactly is it?
To put it simply, the follow-through is kind of the stage where you evaluate if everything you did is right. Naturally, you will know if you messed up your shot at this stage whether it is on the release or the setup position.
There are several things that happen during the follow-through.
For instance, the bow hand does a forward movement directing the bow toward the target. It is similar to how basketball players move their shooting hand in the direction of the basket. This movement allows the bow to swing freely.
The Archery Shot Cycle Overview
Let’s review the archery shot cycle. There are ten steps to it (well, some of them may overlap) but, the gist is the same.
The shot cycle consists of:
- Stance
- Posture
- Setup (grip and hook)
- Raise
- Pre-draw
- Load
- Anchor
- Expansion
- Release
- Follow through
These are the steps you need to keep in mind while taking a shot. The archery shot cycle also serves as the linear way to fix your errors. You cannot jump to Anchor without fixing the stance.
That is the archery shot process or cycle whatever you want to call it. Goodluck shooting!
Related Posts
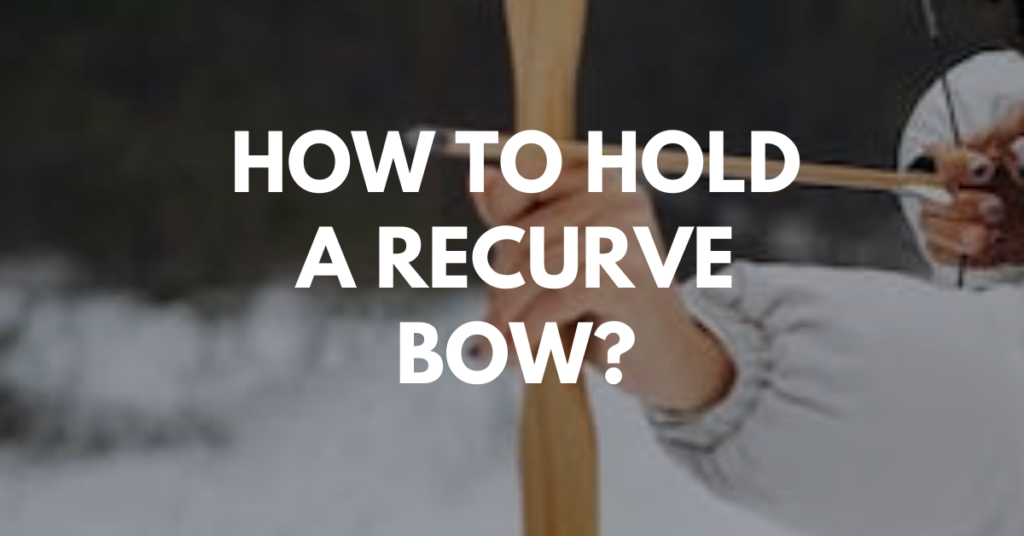
How to hold a recurve bow?

What is the right archery posture?